Locating Hardware
Discovery of, and connection to, hardware is done with the Locate Hardware dialog found under the Hardware menu or by clicking the Locate Hardware icon in the Tool Bar or on a particular unit.
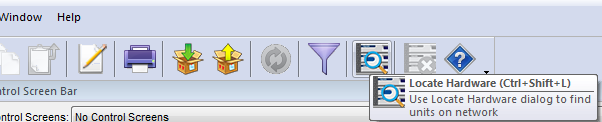
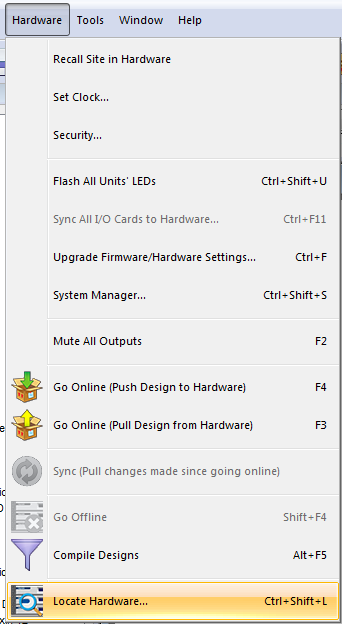
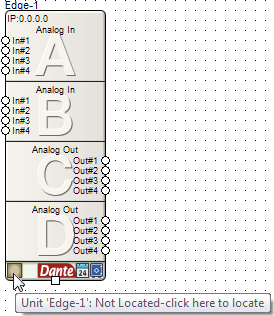
Accessing the locate hardware function by any of these methods brings up the Locate Hardware dialog:
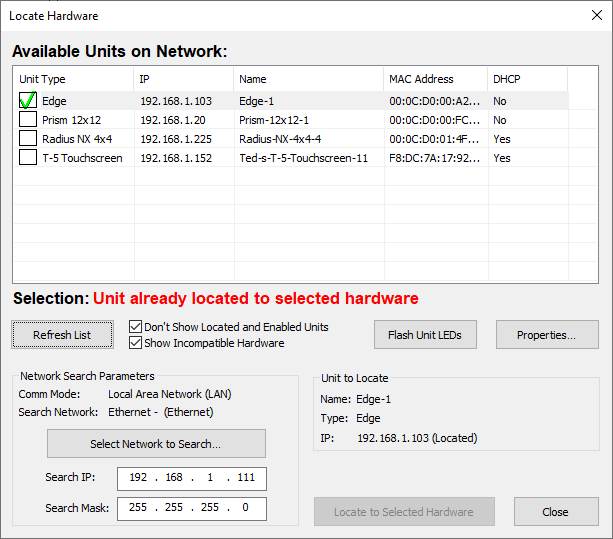
When the Locate Hardware dialog loads, it scans your network to find available units. You can refresh (re-scan the network manually) by clicking the Refresh List button.
If you have more than one NIC on your computer, you may need to manually select the NIC (network) you are using to interface with the Symetrix hardware. Click the Select Network to Search button to select a NIC. This will fill in the Search IP and Search Mask fields for you. You may also enter them manually to search custom address spaces.
To ensure you are locating the correct hardware, you can Flash Unit LEDs.
If you have more than one unit in your design and you choose Locate Hardware from the Hardware Menu or click on the Locate Hardware Tool Bar icon, you will get the Locate Hardware - Select Unit dialog allowing you to select which unit you want to locate. Then, the Locate Hardware dialog above will be shown.
Assigning Static IP Addresses to Hardware
IP Configuration with Composer
The Locate Hardware dialog will scan the network and list available units. Select the unit you wish to assign an IP address to and click the Properties button. If you wish to assign the unit a static IP address, select “Use the following IP address” and enter the appropriate IP Address, Subnet mask and Gateway. Click OK when finished. Now, back in the locate hardware dialog, ensure the coorect unit is selected and click "Select Hardware Unit" to use this hardware in your Site File. Close the Locate Hardware dialog.
IP Configuration with the Front Panel
IP information can also be edited from the front panel. The front panel interface starts up in Editable System Mode out of the box. Press LEFT or RIGHT until you get to the DHCP menu. If DHCP is enabled, press ENTER and then UP or DOWN until it reads DISABLED, then press ENTER to confirm. Now press RIGHT until you get to the IP Address menu. Press ENTER to edit using the UP or DOWN buttons to change digits and the LEFT or RIGHT buttons to navigate between digits. Press ENTER again when finished editing. Repeat as necessary for Subnet Mask and Gateway Address.
Note: If the IP Address is changed from the front panel, Composer Design unit(s) must be updated to match by right clicking on the units and choosing Unit Properties and manually entering the IP address, or by Locating Hardware as detailed previously.