Attero Tech
An Attero Tech unD3IO, unD4I-L, unD6IO, unD6IO-BT, unDAES-O, unDIO2x2, unDIO2x2+, unDUSB, unDX2IO, unDXIO2+, or an unDX4I can be added to the Site View.

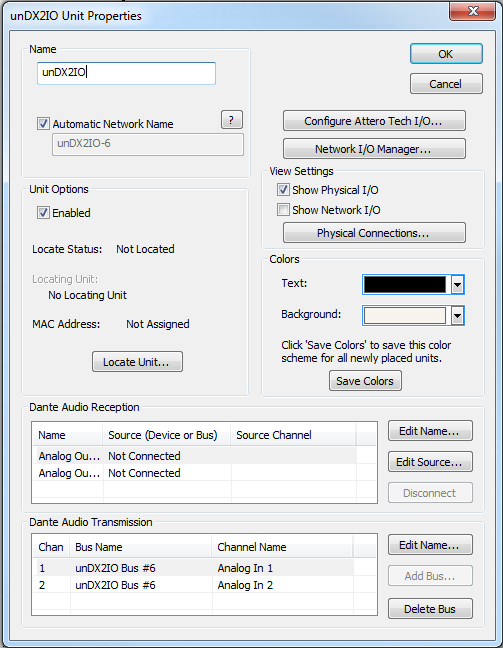
All of the following features are managed in the Unit Properties dialog. To access the Unit Properties, right-click on the unit module in the Site View and choose “Unit Properties...”
-
Name - It is recommended to assign a unique unit name for each unit in the design based on the unit's purpose or location. Composer will always append a unique numeric identifier to this name.
-
Network Name - When Automatic Network Name is checked, the network name is auto-generated from the unit name. Network names cannot contain special characters or spaces and must be unique.
-
Enabled - When the enabled box is checked, the unit must be physically present on the network for a Push of the site file to the hardware. When the enabled box is unchecked, a X will appear on the unit module in the Site View, and the unit will not be required to be physically present for the Push of the site file.
-
Locate Unit...- Opens the 'Locate Hardware' dialog box to select the unit to connect to.
-
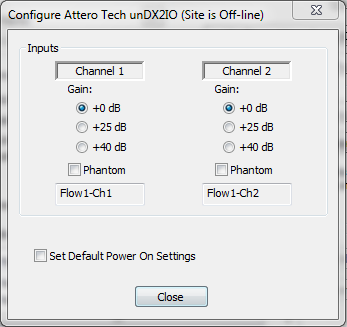
Configure Attero Tech I/O -Configure the gain, phantom power, channel label, and Default Power On settings of the unit inputs here.
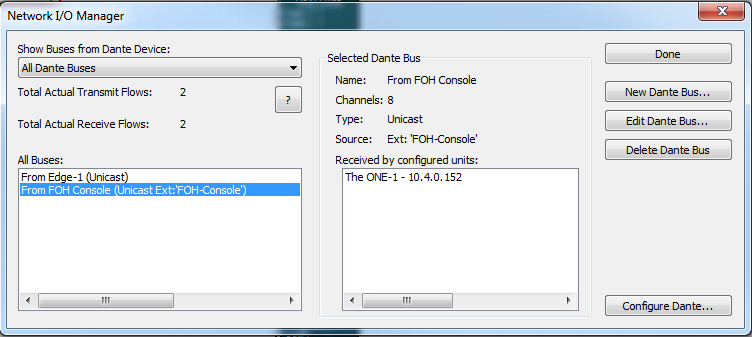
- Network I/O Manager -Opens the Network I/O Manager dialog. Click here for instructions on how to program Network Transmit and Receive Buses.
-
View Settings- When either Show Physical I/O or Show Network I/O check box is checked, the unit module in the Site View will show the corresponding connections.
-
Physical Connections...- Opens the Edit Physical Connections dialog.
-
Colors-The text color and background color for the unit module can be customized. To save custom color settings made here as defaults for future units, click the Save Colors button.