Email Output
Email Output
This module allows an email to be sent from a DSP that is connected to the internet. The configuration of the email server takes place in Composer, as outlined in the below section. The contents of the email itself may be changed via SymVue. Sending an email can be triggered through a preset, SymVue button, remote control device or control signal.
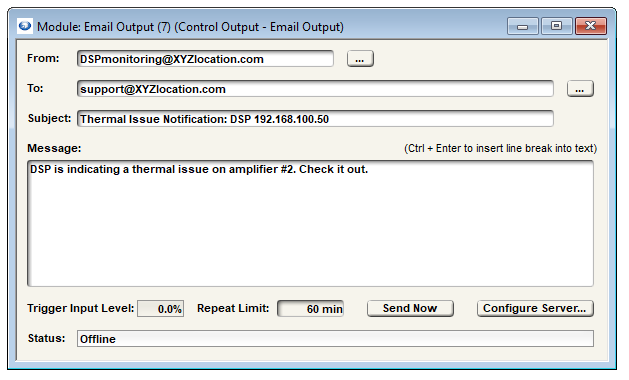
From: The email address from which the email will be sent. Proper address formatting will be validated when the email is sent. There can only be one address in this field, with a maximum of 255 characters. The “…” button will open the Email Address Editor.
To: Enter the destination email address.
Subject: Required for an email to be sent. 4095 character limit.
Message: Required for an email to be sent. 4095 character limit.
Trigger Input Level: Displays the current level of the control signal routed into the module when online. The sending of an email will be triggered when the input signal is above 50%.
Repeat Limit: The minimum period that must pass between successive emails when the input signal is held high. In other words, if the input signal is held high, an email will automatically be sent at the defined Repeat Limit period.
Send Now: Pressing the Send Now button will manually trigger the sending of an email. Doing this while online will trigger the DSP’s firmware to send the email. When pressed while offline, the email will be sent from Composer.
Status: Shows “Offline” when offline. When online, status field will show the last status state set by the Email output module. Possible status message include:
· OK.
· Internal Error.
· Unable to access network tools library.
· 'To' address is empty.
· 'From' address is empty.
· 'Subject' field is empty.
· 'Message' field is empty.
· Illegal 'From' address. \
· Illegal 'To' address. \
· Failed to send. \
Configure Server: This opens the Configure Email Server dialog.
Configuring the Email Server:
Depending on your email service you may need to contact the IT department for the below settings. If using other services (e.g. Yahoo/Gmail/Etc) you may need to create an app-specific password in the account’s security settings, especially if 2-step Verification is enabled.
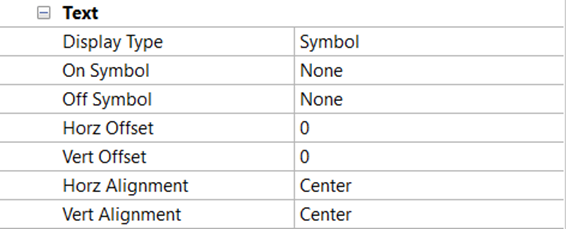
SMTP Mail Server: This is the email server domain name. Pressing the “…” button opens the Email Server History dialog, which contains a list of the last 10 email server names that were entered.
Server IP Address: The DSP units do not reliably have access to a DNS (Domain Name Server) so all servers must be presented to the DSP with by a static IP address. When a new server name is entered, the IP address retrieved using a DNS lookup by Composer. This lookup happens when the focus leaves the server name edit window, or a name is selected from the server history dialog.
The server IP addresses are not kept in the history, just the names, so an internet connection must be available when changing the server name to retrieve the proper IP address.
If the DNS lookup is not successful, an error is returned.
Username and Password: The username and password edit controls are used to enter the credentials to use for logging into the server. The password entered is hidden but shows the number of characters entered. The maximum number of characters for username and password is 31.
*Security and Port number: * The port number is usually controlled by the type of security required by the email server, but some systems may use custom port numbers. When the security type (none, STARTTLS, or SSL/TLS) is chosen, the default port is automatically set. The user can change the port after setting the security if needed.
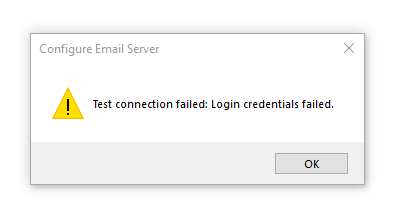
Test Connection: The Test Connection button first tries to connect to the IP address specified and if successful, attempts to login using the credentials. If either step is not successful, the appropriate warning message will be presented:
Help: Opens a dialog to assist with configuring the email server.
Email Address Editor:
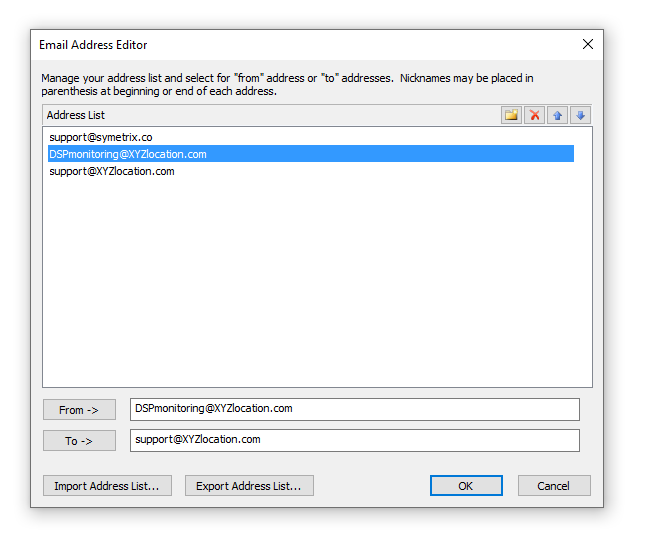
Accessed via either of the “…” buttons adjacent to the “From:” and “To:” fields. This allows the user to maintain a list of email addresses that can be saved in the site file. Email address can be manually added by clicking the folder icon in the upper right corner, or by importing an XML email list. Simply click an email address in the list, then click either the “From->” or “To->” buttons to populate the corresponding text field.
The addresses in this list may also be exported as an XML file.