SymVue for Control Server
SymVue for Control Server works identically to SymVue for Windows but can be accessed by any device with a web browser. It is a license-based application that allows users to access custom Control Screens, created within Composer, from any standard HTML web browser.
Note: Due to changes made by Apple in iOS 11.3 and later to support Progressive Web Apps, app configurations saved to a device’s home screen behave differently than on earlier versions of iOS. If you want to save a specific app configuration to a device’s home screen and have it load directly, it must use a dedicated user login with that user’s preferences set to open the desired configuration on login.
Exporting SymVue to Control Server
Uploading Fonts to Control Server
*Exporting SymVue to Control Server*
- Add a Control Server and a DSP to your site file from the toolkit.
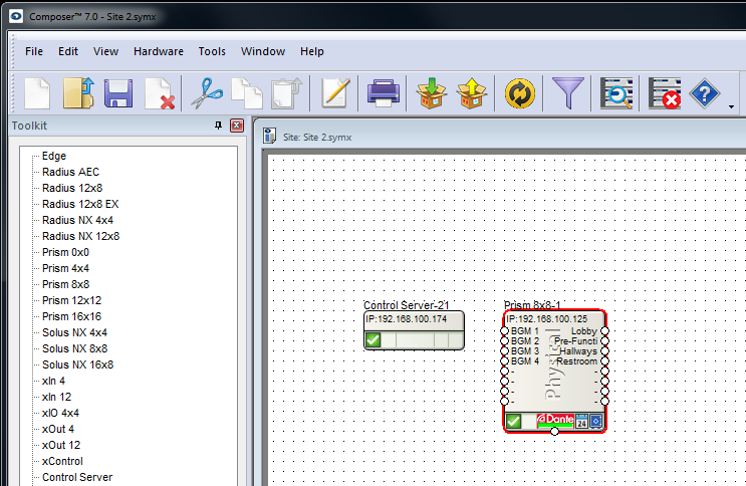
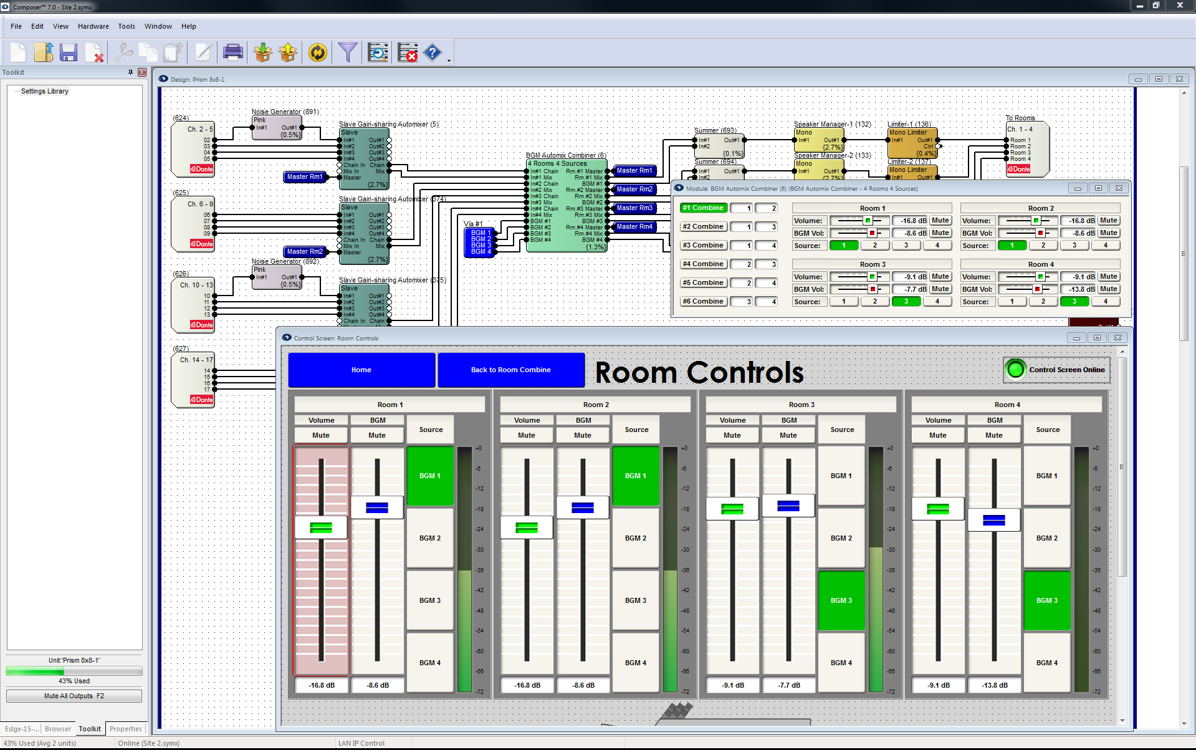
- Create a Control Screen using Composer software.
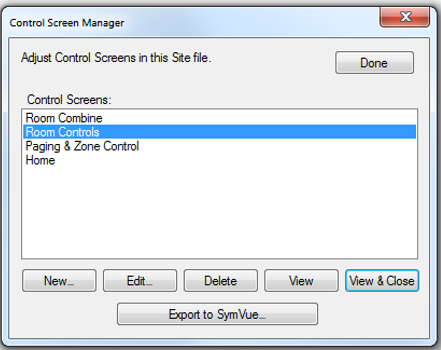
- Open the Control Screen Manager from the Tools menu.
-
Click the name of the Control Screen and select Export to SymVue.
-
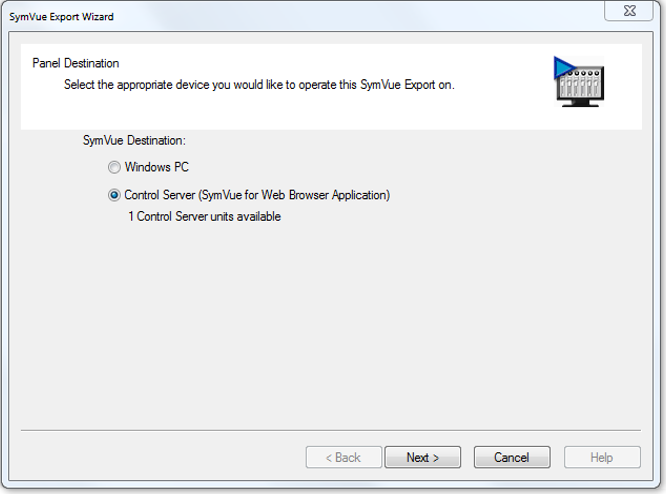
Select Control Server as the SymVue Destination, then click the Next button.
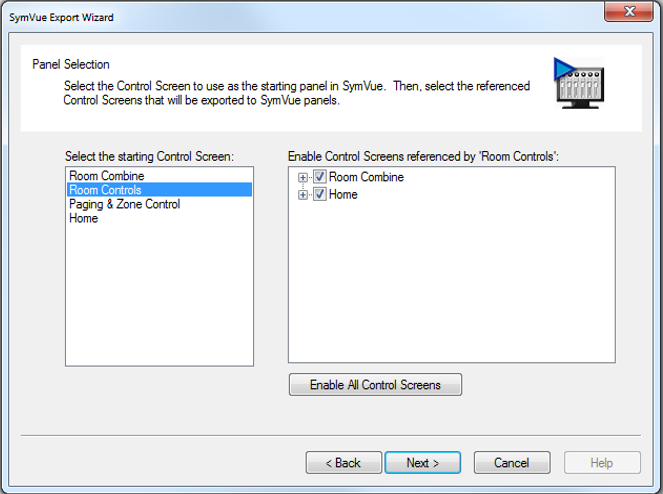
- Highlight the starting Control Screen, the click Next.
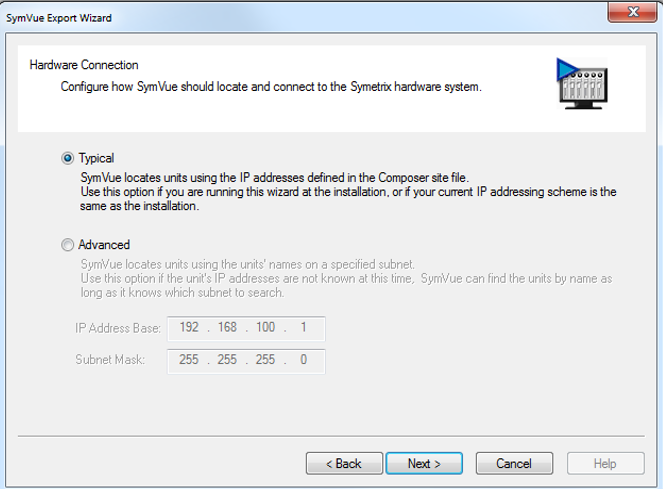
- On the Hardware Connection window, choose Typical. This will ensure SymVue references the IP address of the DSPs as defined in the Composer Site File.
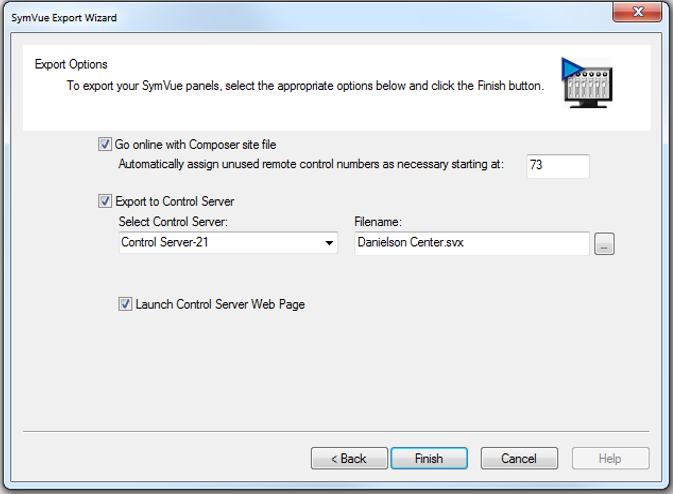
- Check Go Online with Composer Site File and Export to Control Server. If you have more than one Control Server in the Site File, use the dropdown to select the destination unit. If desired, you can change the Filename of the panel being exported.
-
Check the Launch Control Server Web Page box and click Finish.
-
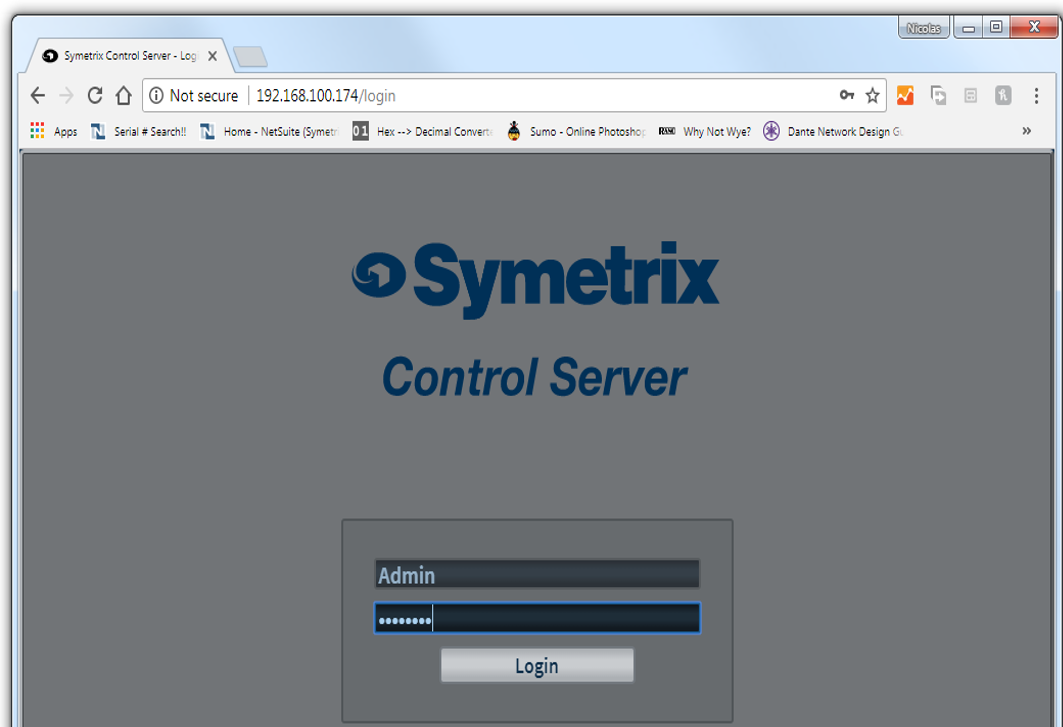
The familiar Control Server web page will automatically open in your default browser. Follow the preceding steps of logging in as the Admin and adding the newly created SymVue screen to the User account.
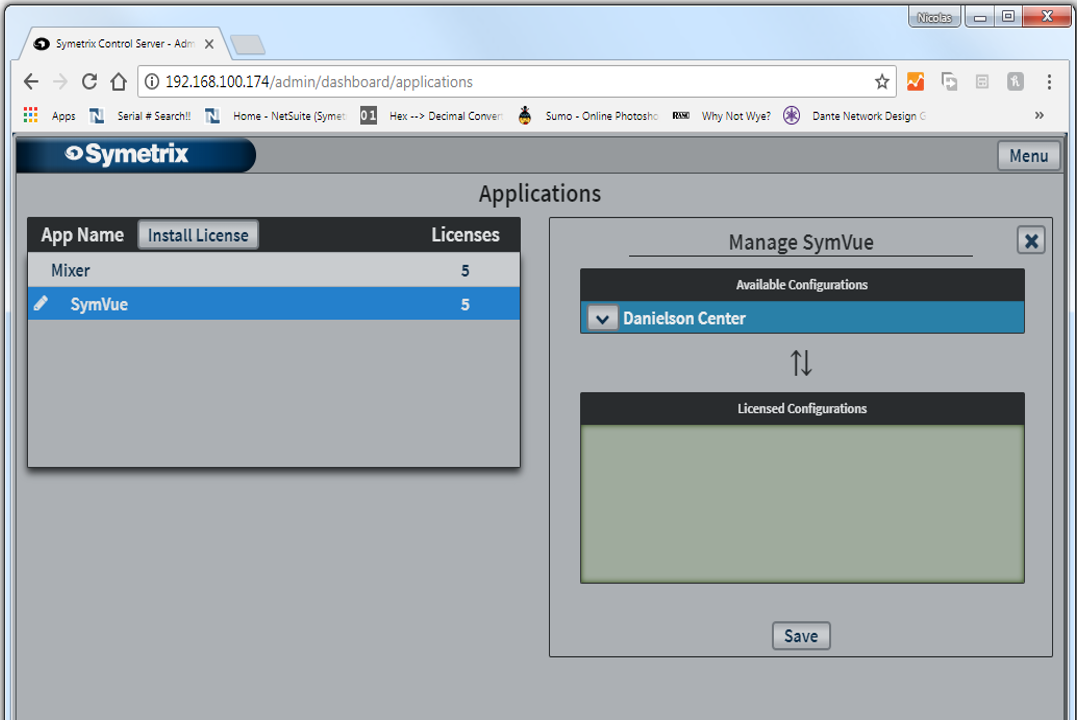
- Open the Applications page and drag or click the arrow to move the desired configuration down to the Licensed Configurations section.
-
Click Save.
-
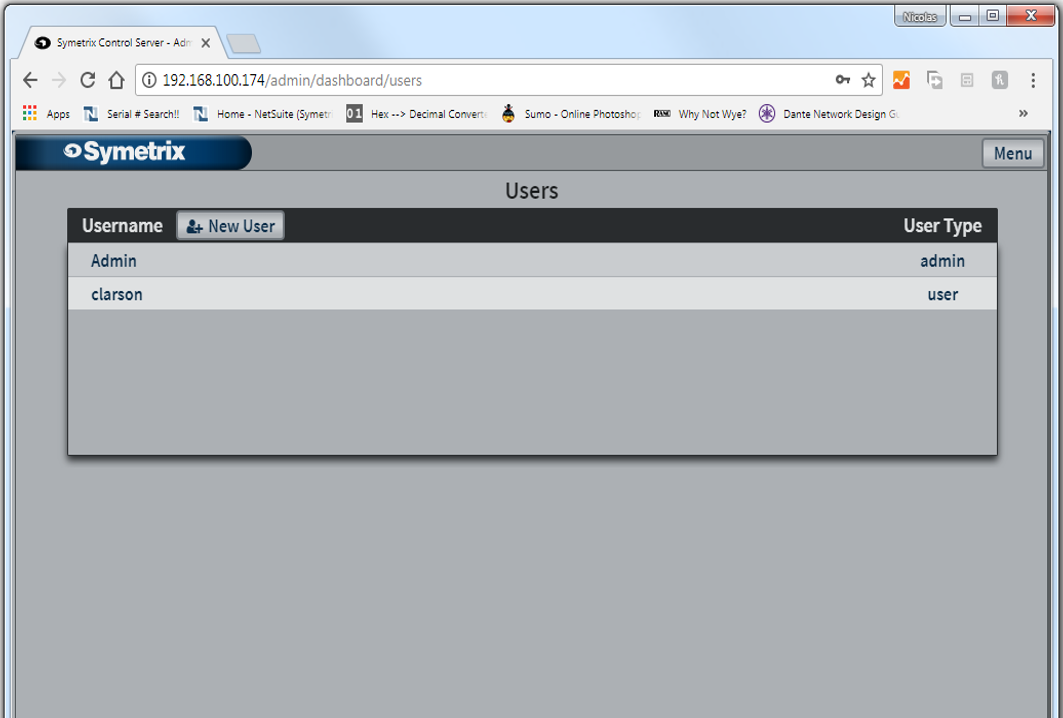
Navigate to the Users page via Menu button, then click on the User Name.
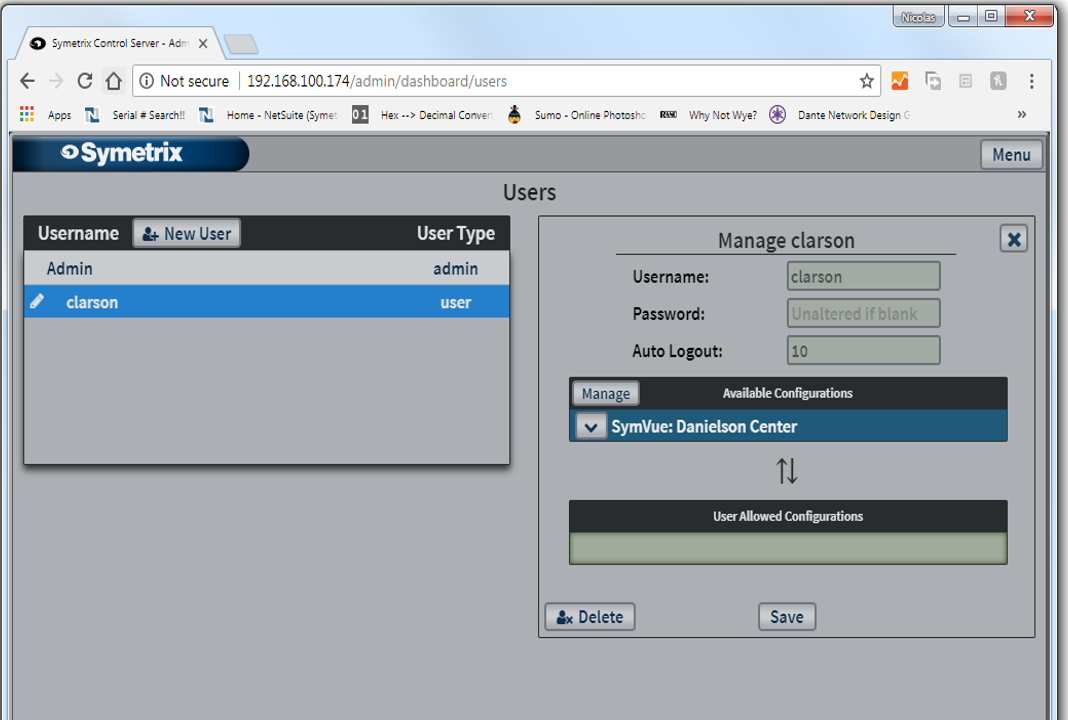
- Drag or click the arrow to move the SymVue configuration from the Available Configurations down to the User Allowed Configurations.
-
Click Save.
-
Log into the user account. The new SymVue for Control Server configuration now appears on the User Dashboard.
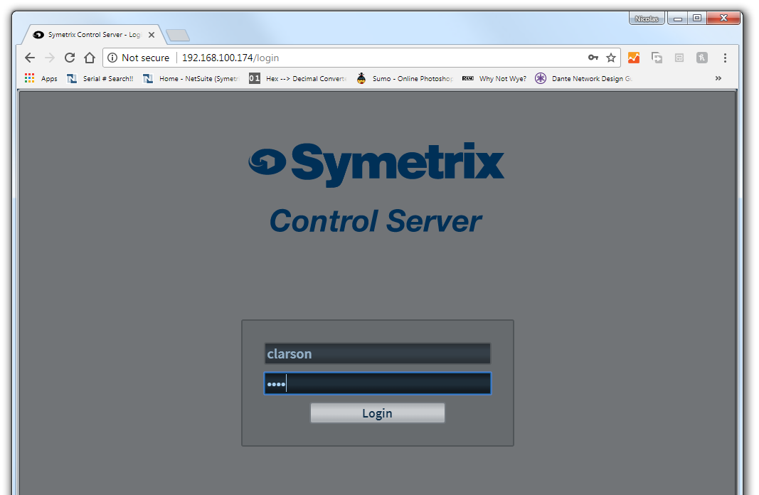
- Click on the preview to open it.
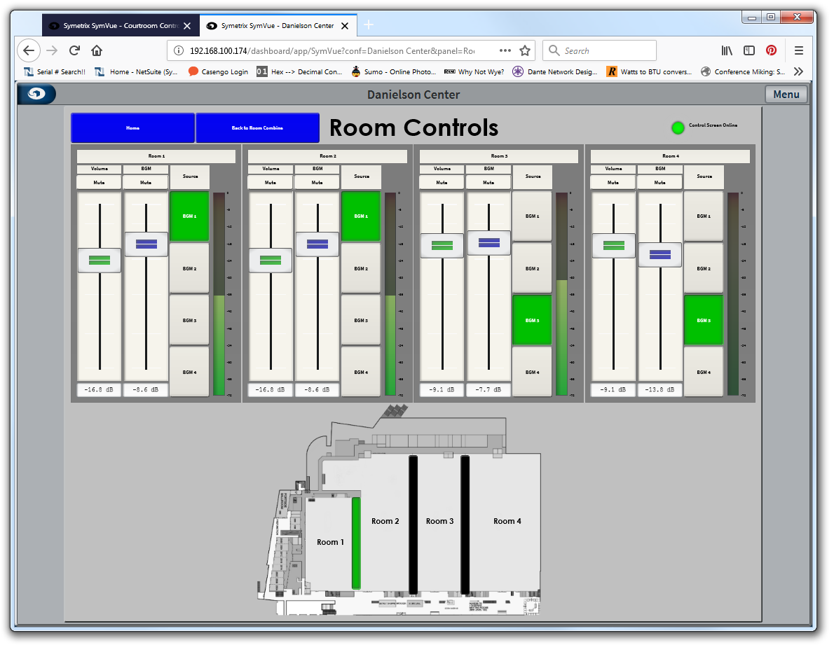
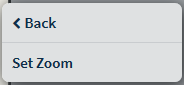
User Login Menus
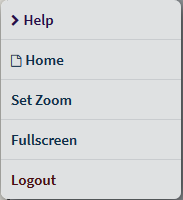
Help- Displays a list of help file descriptions for menus related to this app.
Home- Navigates back to the home page with the application previews.
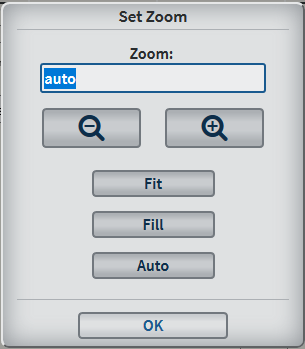
Set Zoom-
Manual Entry- Set the zoom to a static level manually.
Fit- Sets and maintains a zoom level which fits the panel inside the screen without modifying the aspect ratio.
Fill- Same as fit but it will modify the aspect ratio to fill the screen, which will distort the panel.
Auto- Selected by default. Sets and maintains the zoom to best fit the screen, which may require scrolling to view the entirety of the panel.
Fullscreen- The browser navigation panes are hidden. Press ESC to exit.
Logout- Logout of the User account.
*Uploading Fonts to Control Server*
The SymVue for Control Server App allows for the use of custom fonts as determined in Composer while designing the SymVue Panel. In order for the Control Server to display all the fonts that can be used within Composer, the fonts need to be uploaded to the Control Server. The Control Server can upload these different font formats:
- TrueType Fonts (TTF)
- OpenType Fonts (OTF)
- The Web Open Font Format (WOFF)
- The Web Open Font Format (WOFF 2.0)
- SVG Fonts/Shapes
- Embedded OpenType Fonts (EOT)
For information on uploading Fonts, refer to the Control Server Administrator Login page.
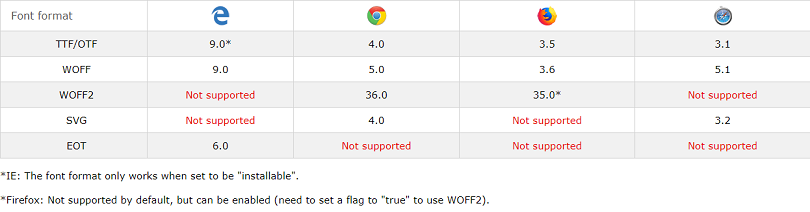
Note: Browser support for each font format varies. The image below indicates which formats are supported by each of the browsers and the first version of the browser fully supporting that format.