Control Server Mixer App
The Mixer App is a web-based interface for controlling Symetrix DSPs. It can be programmed with up to 32 channel strips with a single fader and mute button per. Help with configuration within Composer can be found here.
Note: If using Microsoft Edge for Control Server administration, it may be necessary to both specify the port at the end of the Control Server's IP address in the URL as well as adding an 's' to http. Example: https://192.168.1.50*:80 *Once you have tried to navigate to the former IP (it will fail), you may now enter the original IP normally (without the 's' and :80). Every time you clear your browser cache, this procedure will be necessary.
Configure Mixer
-
Add a Control Server and a DSP to the site file from the toolkit.
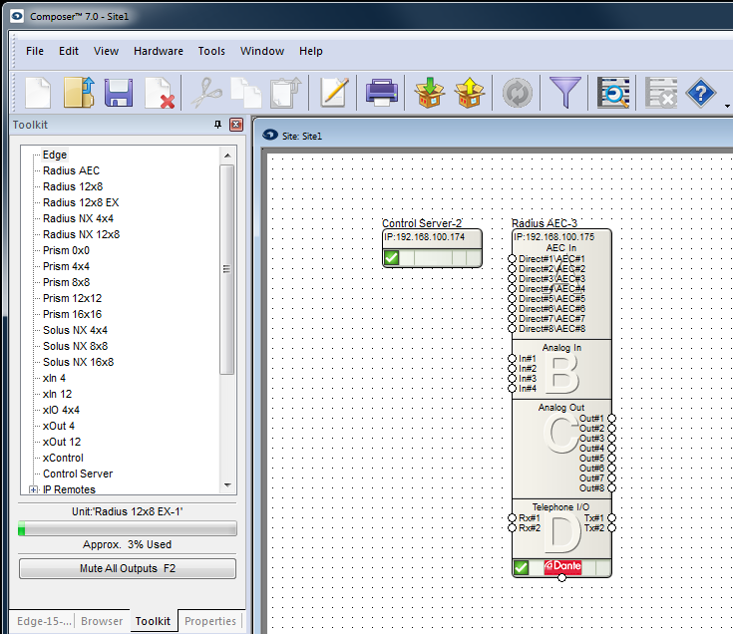
-
To assign parameters to be controlled by the Mixer App, double-click the DSP and open the Design View page.
-
Double-click and open the module to be controlled.
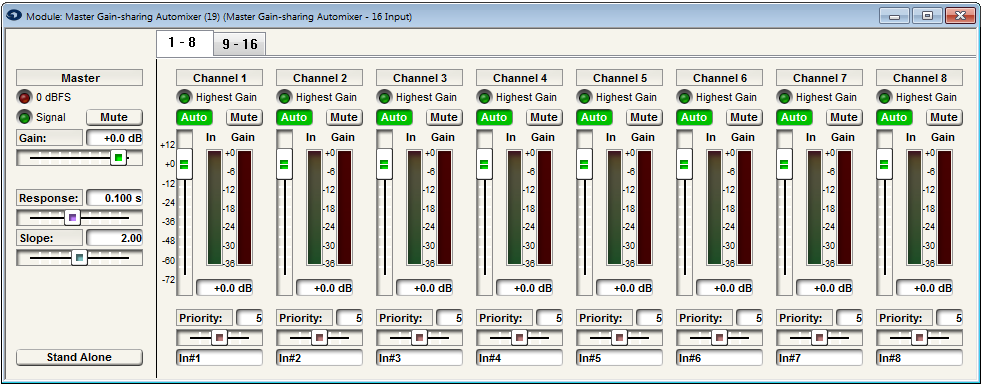 4. Right-click the fader or mute being assigned and select Set Up to Remote Control. This opens the Setup Remote Control window.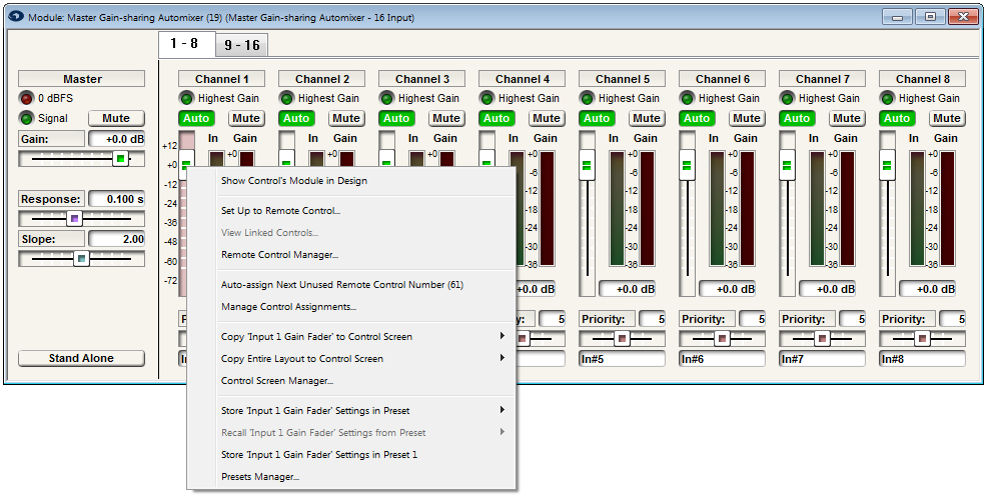
-
Select the CS APP from the list of Remote control devices.
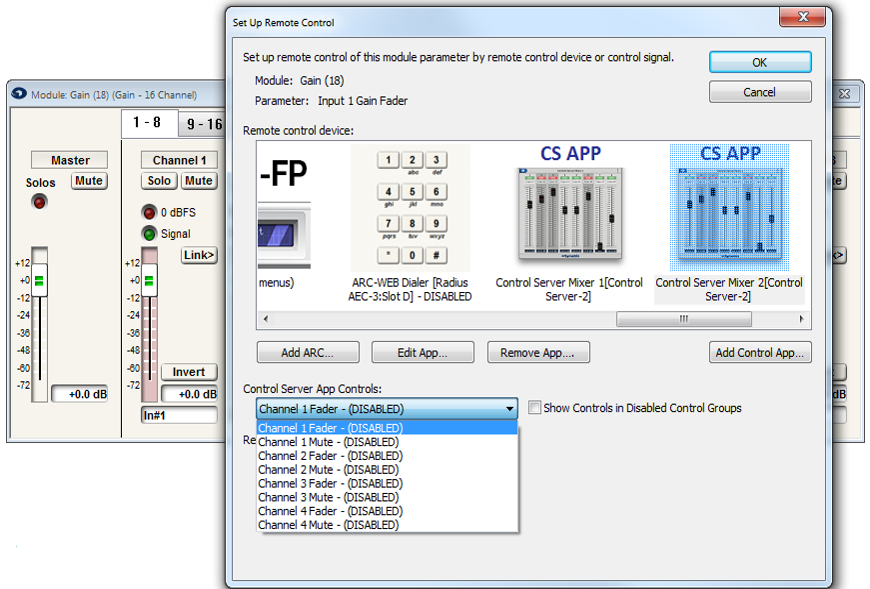
-
Use the dropdown menu for Control Server App Controls to assign the control to a specific fader or mute. Repeat this process until all faders and mutes have been assigned to the Mixer App.
-
Push the design to hardware.
-
Either double-click the Control Server module from the Composer Site View page, or type the IP address of the Control Server into a web browser to access the web interface.
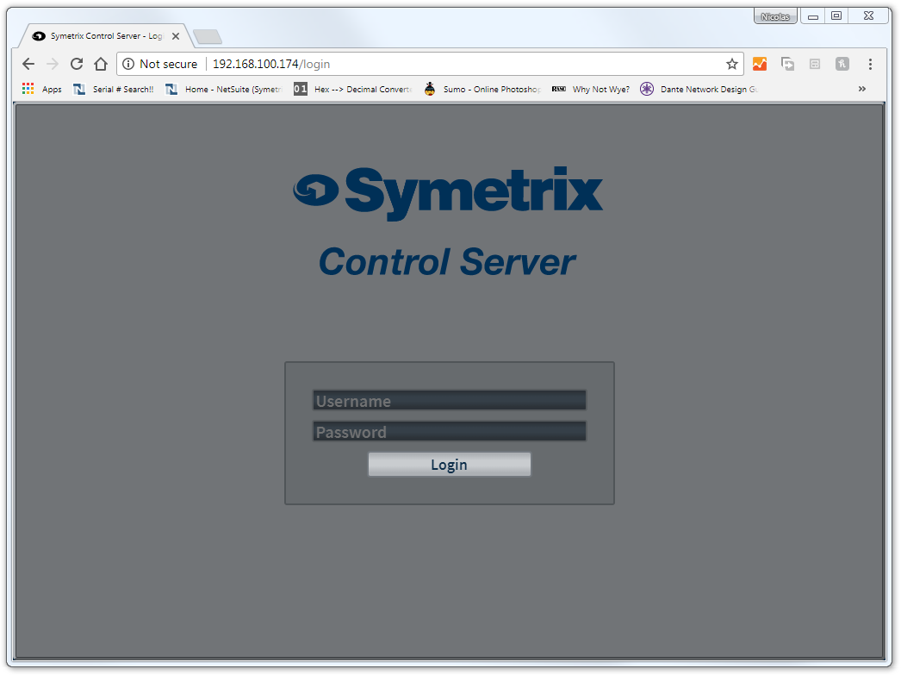 9. Log in under the Administrator account.
 -
Open the Applications page.
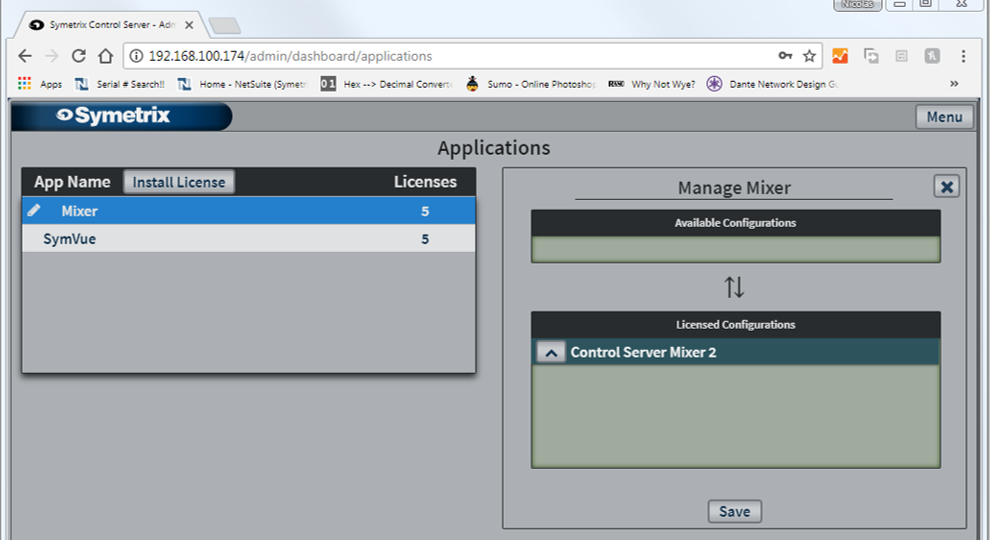
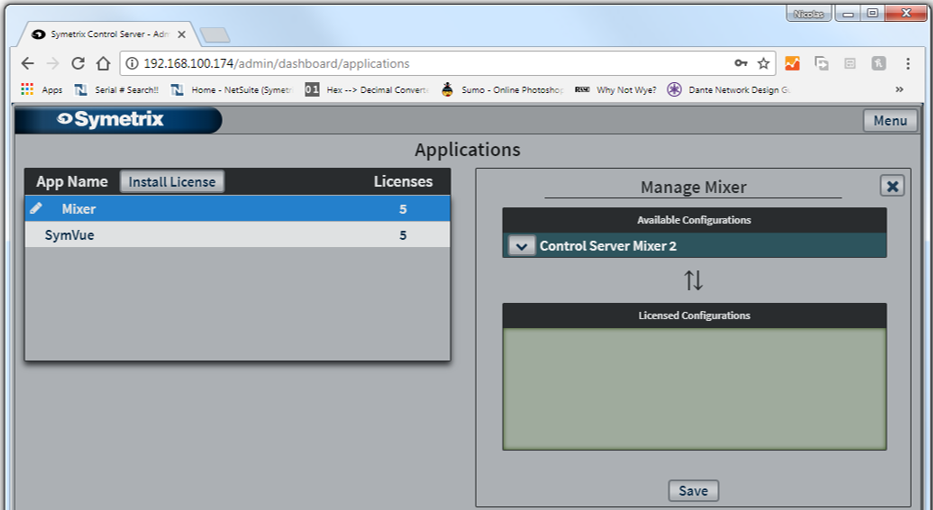 11. Drag or click the arrow to move the desired configuration down to the Licensed Configurations section.
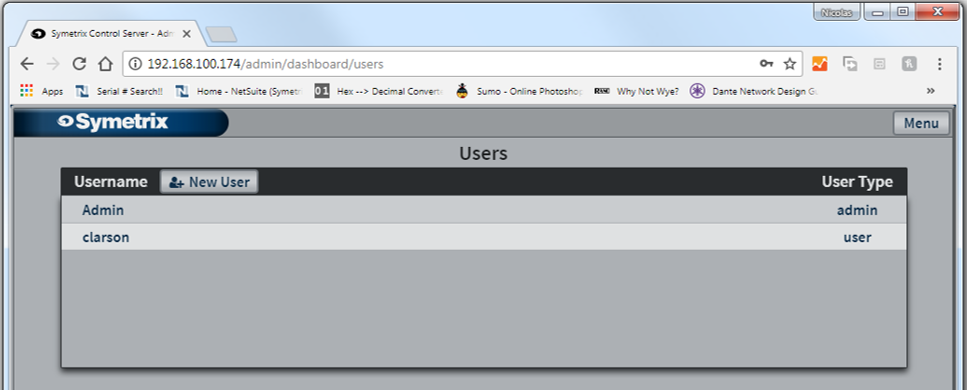
 12. Navigate to the Users page via Menu button, then click on the User Name.
 13. Drag or click the arrow to move the Mixer configuration from the Available Configurations down to the User Allowed Configurations.
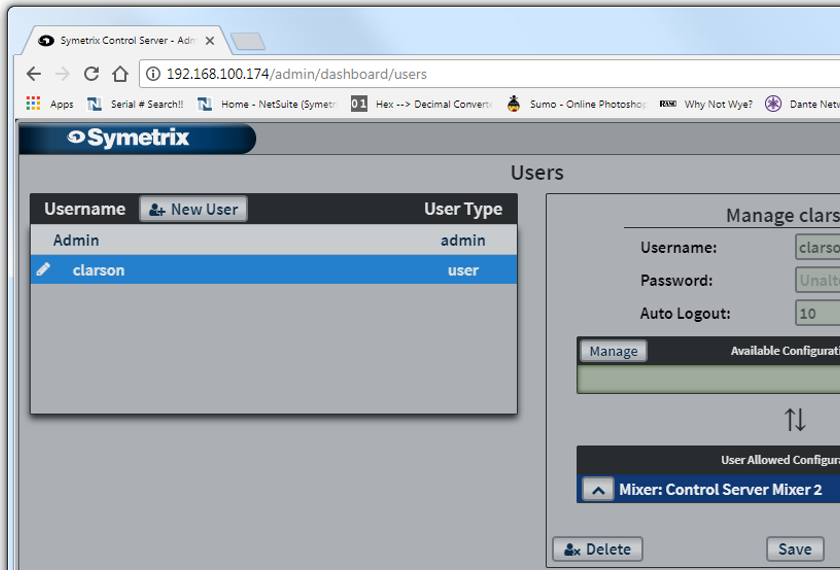 14. Click Save.
 -
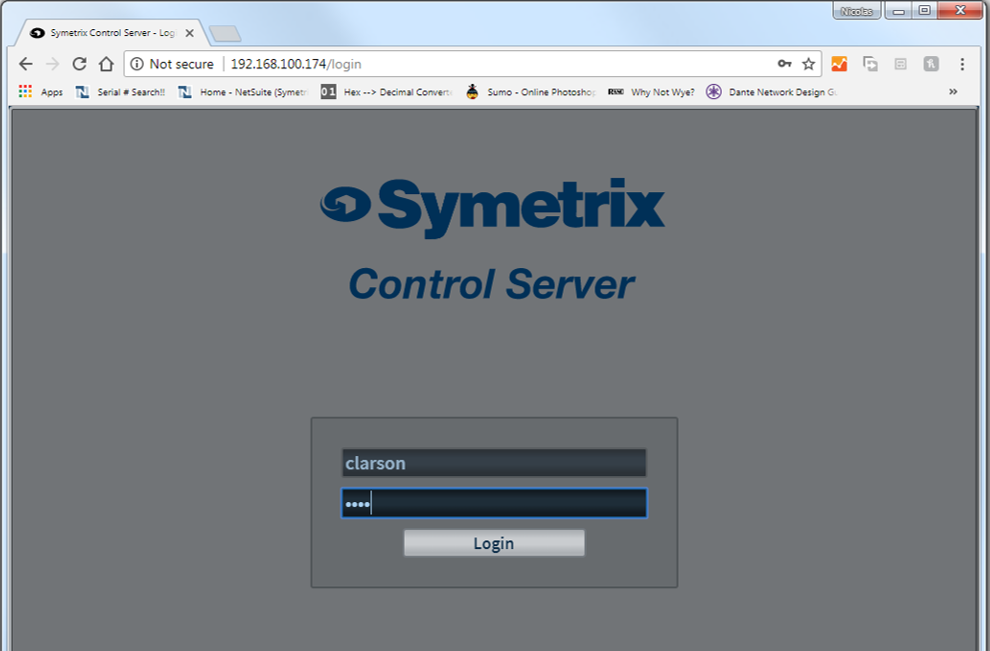
Log in to the Control Server as the user. Refer to the Administrator Login section for instructions to configure the user account.
 16. The user’s dashboard will display a preview of all configurations available to the user. Click on the desired configuration to open it and begin controlling the system.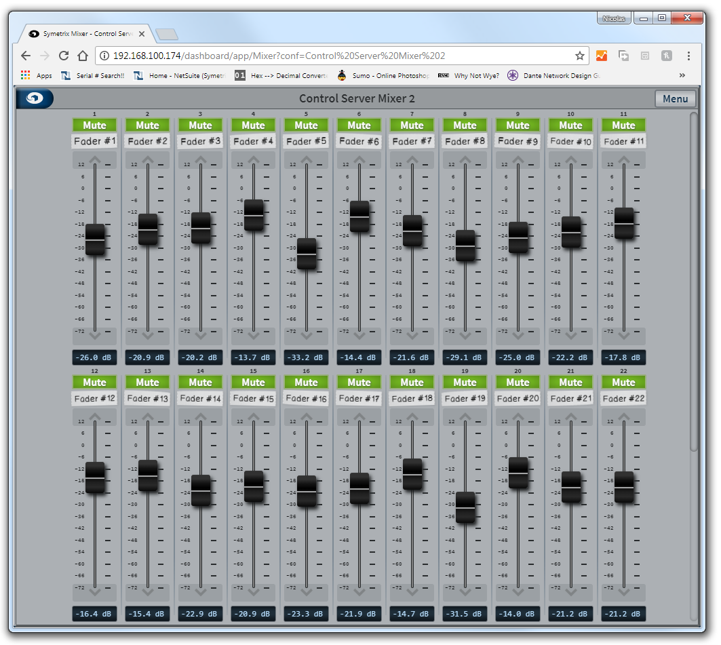
Editing Mixer in Composer
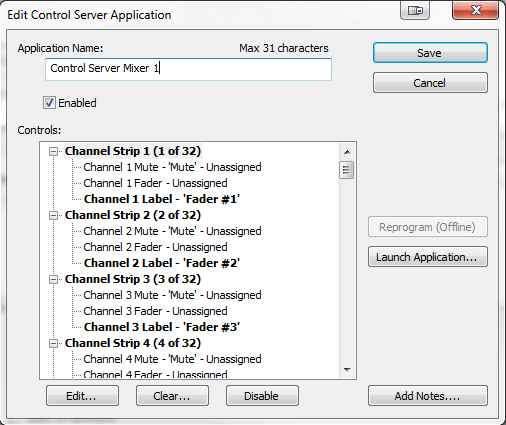
The Edit Control Server Application dialog is accessed many places within Composer including; the Manage Control Server Applications dialog, the Add Control Server Application dialog, the Set Up Remote Control dialog, and the Remote Control Manager.
Application Name- Entry field for the name of the Application. The length can be 1-31 characters and may not include '#', '&', '<', '>', '+' or '='.
Enabled- Enable the Application to be pushed to the Control Server from Composer.
Edit- Opens the highlighted items Edit dialog. Unassigned items must first have Controls assigned to them before they can be edited.
Clear- Clears the currently selected item of any user assigned parameters.
Enable/Disable- This button will enable or disable the currently selected item. The name of the button changes depending on the current setting, allowing it to be toggled.
Save- Saves the changes made and closes the dialog.
Cancel- Cancels the changes made and closes the dialog.
Reprogram- Reprograms all enabled Applications to the Control Server. Must be online for this button to be clickable.
Launch Application...- Launches the current Application being edited.
Add Notes...- Opens the Notes dialog box allowing you to enter or edit notes for the Application currently being edited.
Note: By default, only Channel Strips 1-4 are enabled. You can Enable/Disable multiple channel strips at a time. If you want to enabled all the channels from 5-16, highlight Channel Strip 16 and click the 'Edit...' button. Check the 'Enabled' box in the dialog and 'Save'. Once the dialog closes, a pop-up will ask if you wish to enable all channels between the last enabled (4) and the one you just enabled (16). Selecting 'Yes' will do that automatically. Disabling groups of channel strips works in a similar fashion, just select the lowest channel not wanted and you will be asked if you wish to disable all higher channel strips.
User Login Menus
The menu for the Mixer is accessed via three vertical dots in the upper right-hand corner of the web page. Within the menu are the following options:
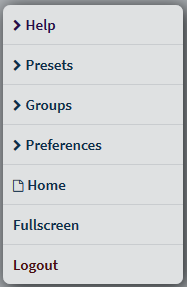
- Help - Help dialogs for the Mixer App.
- Presets - Produces a sub-menu for all presets assigned to the Mixer App. This option is not visible if no presets have been assigned to the app in Composer.
- Groups - Provides a sub-menu to manage and create fader groups.
- Preferences - Provides a few display options for the Mixer App.
- Home- Returns to the User Dashboard.
- Fullscreen- The browser navigation panes are hidden. Press ESC to exit.
- Logout- Logs the User out of the Control Server.
Help
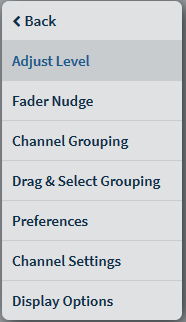
Each Help topic produces a pop-up dialog with information to assist in using the Mixer App.
Presets
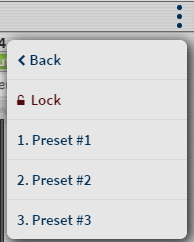
Up to 16 Presets can be assigned to a Mixer App during app configuration in Composer.
- -Lock- Locks the menu in place to enable multiple preset recalls without having to traverse the menu each time.
Preferences
The preferences sub-menu contains options for app-wide user preference control.
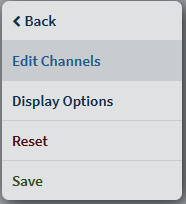
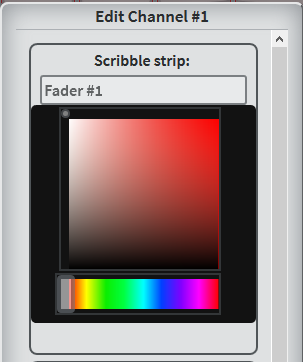
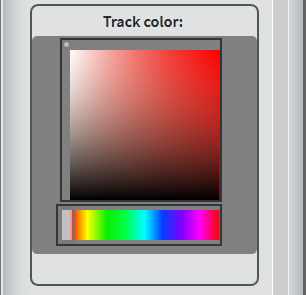
- -Edit Channels- Edit the Channel Label (scribble strip), color of the channel label, Track Color, and Nudge Increment.
-Display Options- Opens a dialog of app specific display options.
-
Reset- Reset all user app preferences, including groups and display options.
-
Save- Saves all user preferences so they are recalled on the next login. If preferences are changes and not saved, the next time the user logs in, all preferences will be at their default settings.
Edit Channels
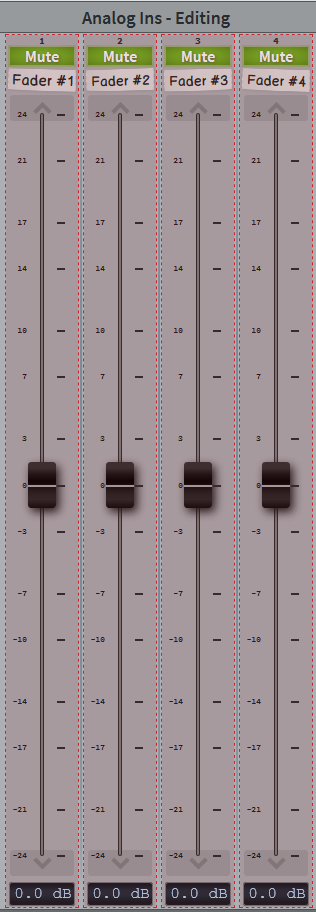
The Mixer window shows the configured channel strips, up to 32. Each strip is composed of a fader, mute button, level readout, channel label (scribble strip), and nudge button.
Note: Settings are not saved until the user navigates to the menu, Preferences>>Save. If the options are not saved, refreshing the browser or leaving the Mixer App and returning will reset all settings to their default or previously saved state.
Channel Labe/Scribble Strip - Edit the channel label and select the channel label text color.
Track Color- Changes the color of the fader track.
Nudge Increment- Changes the incremental value the fader will move when using the nudge buttons.

Display Options
The Display Options provide settings for how the mixer appears to the user.
Note: Settings are not saved until the user navigates to the menu, Preferences>>Save. If the options are not saved, refreshing the browser or leaving the Mixer App and returning will reset all settings to their default or previously saved state.
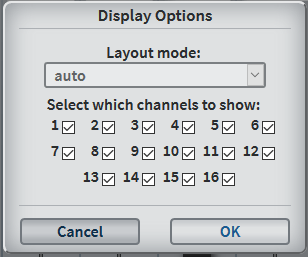
Layout mode- Select between auto, tall, and wide.
Select which channels to show- Provides a quick and easy way to show/hide any of the faders in the configuration.
Groups
The Mixer App allows a user to set up different fader groups. To group the faders, simply double click on the fader tracks intended to be grouped and a box will outline the fader caps, signifying that they are part of the group. Individual faders are removed from a group with the same double click action on the fader track. To disband the entire group, triple click on any of the fader tracks in the group, the colored box around the fader caps will disappear and they will no longer be grouped.
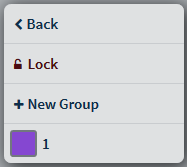
Lock- Locks the menu in place for quicker recalling of different groups.
+ New Group- Creates a new fader group.
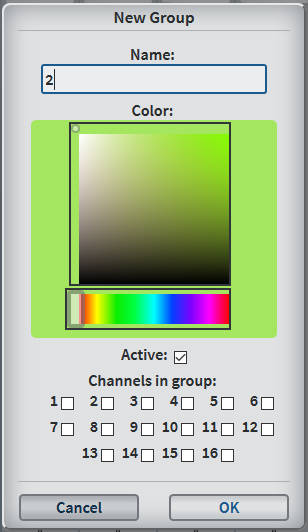
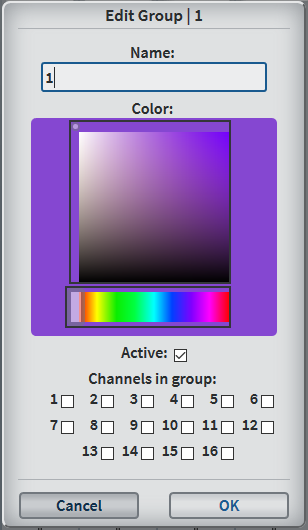
When creating fader groups, the user has the following options:
Name- The name of the fader group.
Color- The color of the box surrounding the fader caps in the group.
Active- When there are multiple groups created, going to the Edit group dialog and checking this box, allows for additional channels to be added to the active group.
Channels in group- Check the boxes for the channels to be included in the group.
Note: Settings are not saved until the user navigates to the menu, Preferences>>Save. If the options are not saved, refreshing the browser or leaving the Mixer App and returning will reset all settings to their default or previously saved state.