Event Scheduler
Setting the Unit's Time and Date
Navigating and Viewing the Calendar
The Event Scheduler allows for scheduling of presets by time and day providing a way to automate routing, source selection and volume changes to account for special events, holidays or other automatic predetermined configuration needs. In order to schedule an event, you must first Store Presets.
After you have one or more Presets created, you can access the Event Scheduler from the Tools Menu.
The Event Scheduler automatically opens to the current day's date in the Month view:
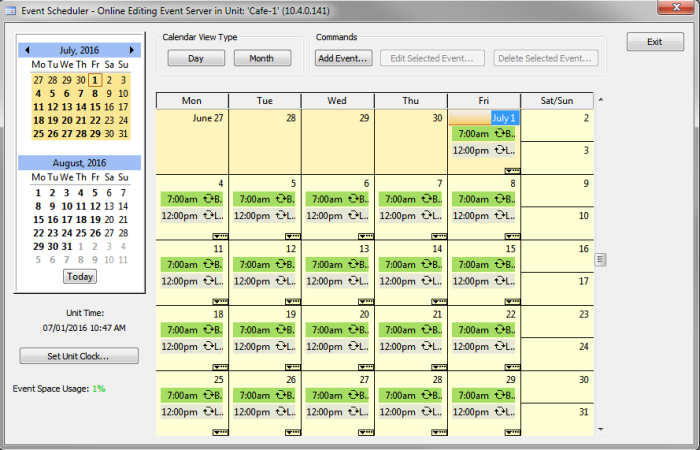
From this main window, you have many ways to navigate and view the calendar of events as well as set the unit's internal clock which drives the automatic recall of events.
Setting the Unit's Time and Date
To ensure your scheduled events trigger at their intended times, you must first set the unit's time and date. To perform this function, you must be online with the unit. If you are, the unit's current time will be displayed above the Set Device Clock... button:
To set the unit's time, click the Set Device Clock... button. This will bring up the Set Unit Clock dialog:
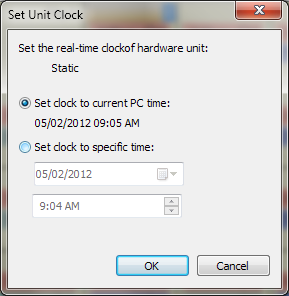
From here, the unit's time and date can be set. There is an option to automatically sync the unit's date and time to the PC.
Note: If the system is configured to sync to NTP (set in the Unit Properties within the Composer Site File), setting the clock here manually does not apply.
Navigating and Viewing the Calendar
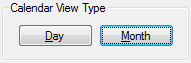
You can toggle between Day and Month views using their respective buttons along the top of the calendar:
You can scroll though the calendar using the scroll bar to the right of the calendar itself, but the easiest way to quickly get to a date or narrow the focus of the current view is by using the two month area in the upper left:
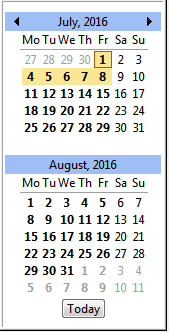
From this two month view, you can see several things:
-
The days shaded in yellow are the days currently visible in the main calendar area.
-
The day surrounded by a box is the current day according to the unit's date and time settings.
-
The days whose numbers are in bold are days that contain events.
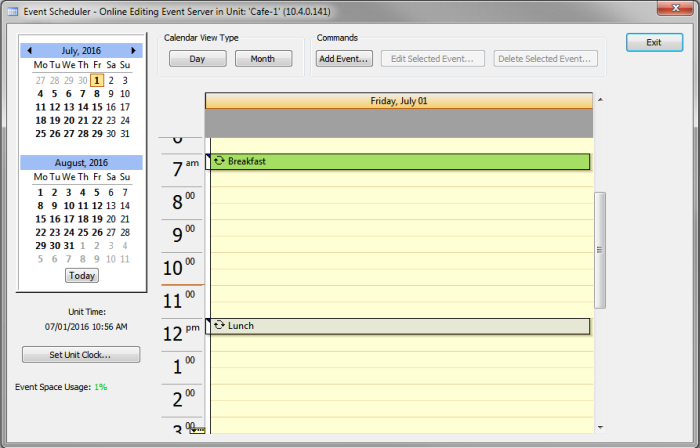
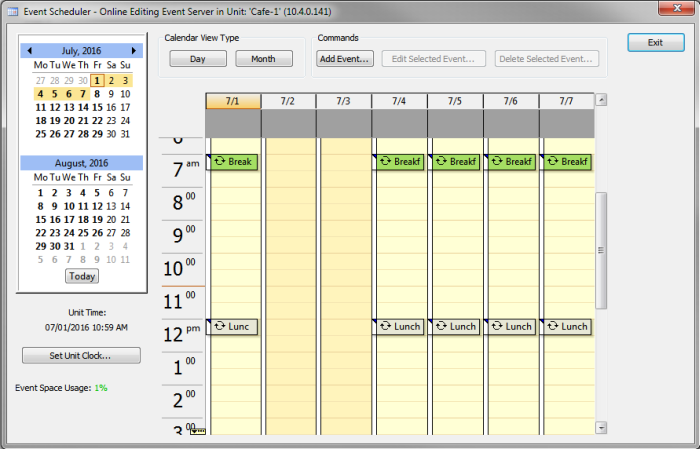
To quickly narrow the focus of your view, you can click directly on any single day to show only that day, or click and drag across multiple days to view those days. For example:
Single Day Selected
Week Selected
Add Event
To add an event either double-click on the desired day in the calendar or select the day in the calendar and click the Add Event... button along the top of the calendar. Either of these methods will bring up the Add Event dialog:
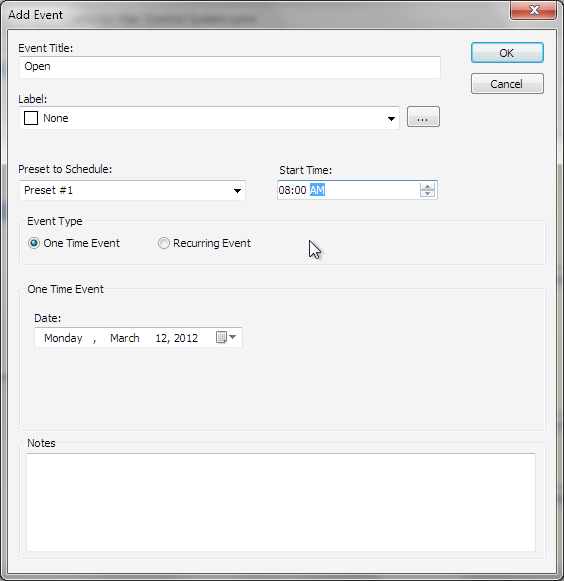
The Add Event dialog allows each event to have:
-
Event Title: This should be a unique and descriptive friendly label for your event.
-
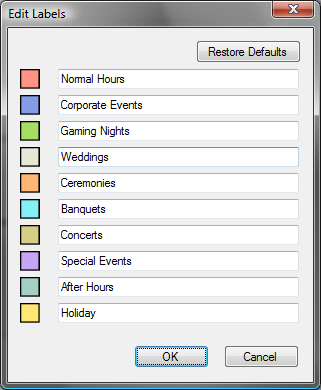
Label: You may give the event a label to help categorize it and even distinguish types with color on the calendar. Category names may be customized by clicking on the "..." button:
-
Preset to Schedule: designate the preset this event will recall.
-
Start Time: enter the time the event will recall.
-
Recurrence Type: events may be a one time occurrence or follow a recurring pattern.
- One Time Event: this will set up an event as a single unique occurrence:
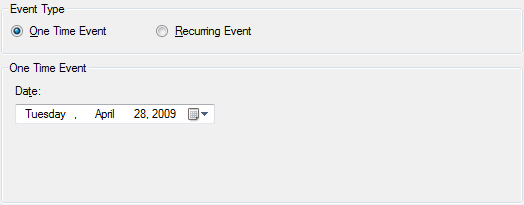
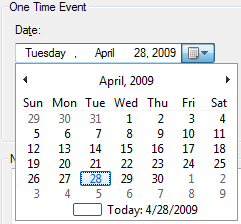
The only option to set for a One Time Event is the Date on which it occurs. Simply browse for the date using the drop down calendar:
- Recurring Event: this will set up an event as a recurring event, allowing you to designate the days of the week on which you want the event to occur:
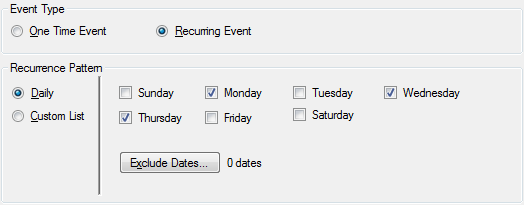
A Recurring Event allows for two Recurrence Patterns; Daily and Custom List. For a daily occurrence, simply select the days of the week you want the event to happen. Additionally, you can Exclude Dates if, for example, you want to event to happen 7 days a week excluding holidays. In this case, you would need to add the desired holidays to the Excluded Dates list:
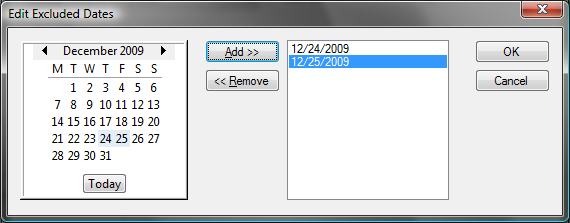
To add dates to the Excluded Dates list, select a day from the calendar on the left and click the Add >> button to move it to the list on the right. Dates can be removed by selecting them in the list on the right and clicking the << Remove button. When finished, click OK to save your list or Cancel to abort.
Custom List type of Recurring Event allows you to select an arbitrary list of days you want the event to occur. This may be useful to handle configuration changes for a pre-planned event scheduled to happen on different days throughout a month or year, or for game days in a sports bar for example.
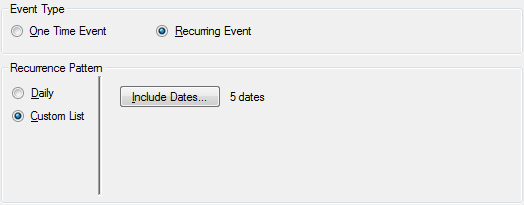
To Include Dates, simply click the Include Dates... button which will bring up an interface identical to the Excluded Dates list shown above. The method of adding or removing dates from the Included Dates list is identical as well.
-
Notes: this is a plain text field where notes can be stored for the event to help with organization.
-
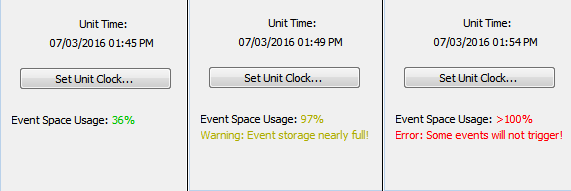
Notes: Event Scheduler indicates the percentage of event space used, with support of up to 5000 one-time or simple recurring events. Custom Include or Exclude dates may decrease the available event space.
Edit Event
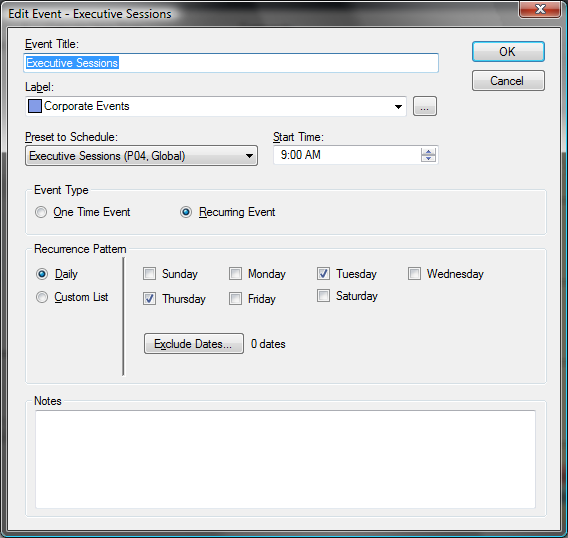
To edit an event either double-click on the desired event in the calendar or select the event in the calendar and click the Edit Selected Event... button along the top of the calendar. Either of these methods will bring up the Edit Event dialog:
Delete Event
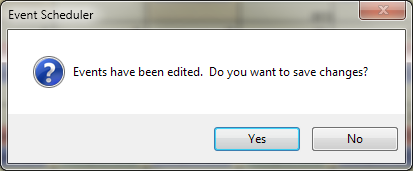
To delete an event select the event in the calendar and either click the Delete Selected Event... button along the top of the calendar or right click and choose Delete Selected Event... from the right click menu.. Any of these methods will bring up a confirmation dialog.
Exit to Save
When finished scheduling new or editing existing events, click the Exit button to save.
Client Access
Using an Event Scheduler Launch file exported from Composer, it is possible to allow end users to schedule and edit events without having access to Composer or the Site File.
From Composer's File Menu, select Export to XML, and choose Event Scheduler Launch File. A standard Windows Save As dialog opens allowing you to select a location to save to and provide a file name for the launch file.
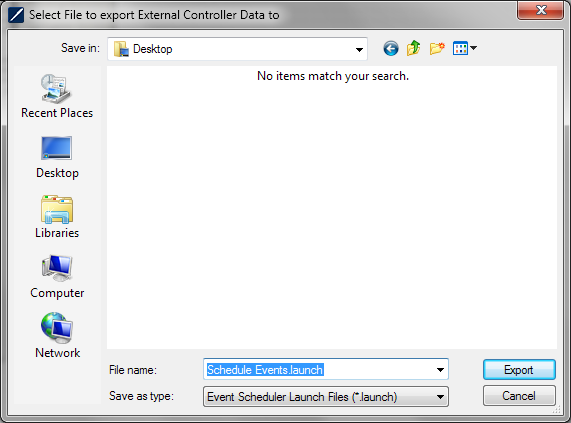
You'll now have a file that can be double-clicked to launch the Event Scheduler stand-alone. Using a Command Button in SymVue, the Event Scheduler could be launched directly from a SymVue Panel.
